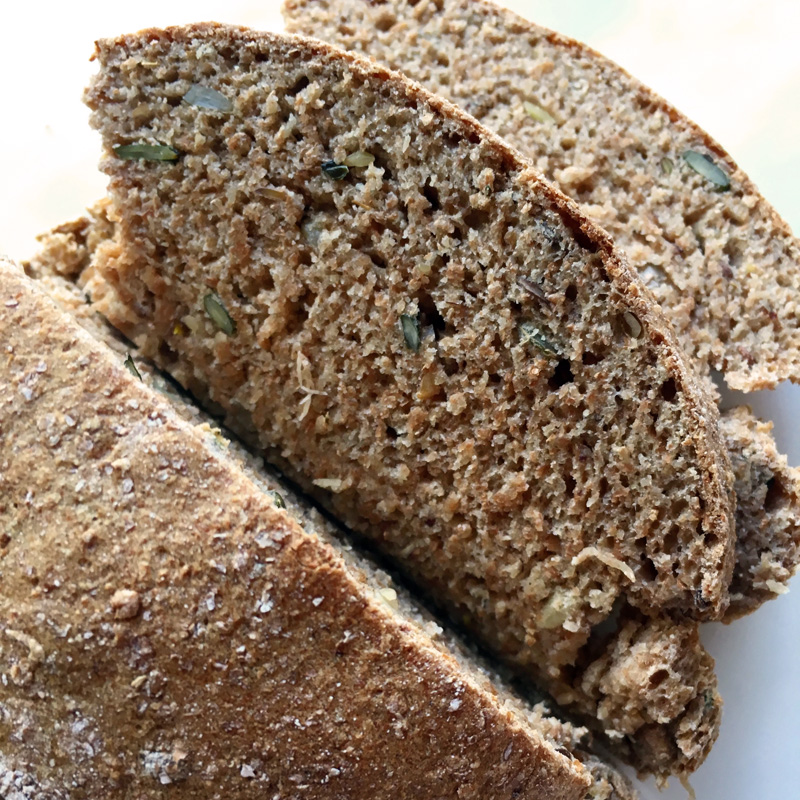
Spelt loaf bread
Making your own bread can be cheap, healthy, quick and faff-free, and we’ve got an amazing shortcut method to show you how. We’re making 2018 the year of better bread – who’s with us?
Bread gets a bad rep for being unhealthy, bland, and bloating for a lot of people. But real bread – the kind that’s made from a few natural ingredients, not the stuff made in factories with artificial additives (often legally undeclared on the label by the way) – tastes delicious and can be a healthy part of our diets. Plus, nothing beats the smell of homemade bread.
But we hear you, busy people. So that’s why we wanted to share a technique we’ve learned that’s super simple and cuts out heavy kneading and waiting time.
With this method, you simply add flour to liquid, feeling with your hands and adding just enough flour until it forms a springy dough that’s not too wet, not too dry. Then you bring it together with a tiny bit of kneading (not too much or the bread will become dense) then bake it straight away. Think of it like a formula – the amount of water you start with will determine the size of your loaf (as you’ll need to add more flour to get the desired texture).
Try this method first, then you’ll start to do it by look and feel. Check out the optional add-ins below.
Makes 1 medium sizes loaf
You will need:
- 200ml warm water
- 1 heaped tsp yeast (we use Dove’s Farm)
- 1/2 tsp honey
- Flour (we use organic wholegrain spelt or wholewheat)
- 1/2 tsp salt
Method:
- Heat the oven to 160°C/325°F/gas 3.
- Mix the water, yeast and honey together in a large bowl.
- Slowly add the flour then salt, stirring gently, adding until the mixture starts to come together to form a dough. Bring it together using your hands until the dough has only just come together, kneading very slightly. You want a smooth, bouncy, very-slightly-wet texture. You want to be able to squeeze the dough so that it just springs back without collapsing.
- Shape it however you like and place on a flour-dusted baking tray. Bake for around 20-25 minutes until risen and golden brown. For a crustier top, turn the oven up to 200°C/400°F/gas 6, when the bread has risen (around the last 10 minutes).
NOTES
Try adding… a handful of seeds or chopped nuts just after you’ve started to incorporate the flour. We used pumpkin and linseeds. We also love chopped walnuts or sunflower seeds.
Mix it up… shape the dough into rolls, bread sticks, flatbreads, pizza bases. It’s really versatile – just cut the cooking time for smaller pieces.
Don’t worry if you… add too much flour or over-work the dough so that it feels too dry/stiff. It’s not ruined but you’ll need to leave it to prove for 20 mins or so, in a warm place, to soften up.
If you have the time… rest the dough until it’s doubled in size, then knock the air out, shape, and bake. It will result in a lighter loaf.
Get ahead… The dough will keep in the fridge, in a bowl covered with clingfilm, for up to 12 hours.
Recipe adapted from Ann Hood from the Smart School of Cookery
See more Baking recipes